Installation
Set up the ROS 2 Humble Docker container on Linux or Windows
The following introduction shows how to use the ROS 2 docker container on Linux and on Windows.
Warning: It is not possible to communicate with other hosts (e.g. Turtlebot) via wifi nor lan if you use docker on Windows.
Virtualization
- Enable virtualization in your PC's BIOS/UEFI settings if needed.
Windows
Install WSL2
Open PowerShell as Administrator and run the following command:
wsl --installRestart your computer after the installation is complete. When you first launch WSL2, you'll be prompted to create a username and password for your Linux distribution.
Install Docker
Install docker and make sure it is running (here are the instructions: Ubuntu Windows )
Install VcXsrv
Install VcXsrv as X11-Server: link
Make sure that you allow VcXsrv access to public and private networks.
Start VcXsrv (XLaunch)
Start VcXsrv (XLaunch) with following configuration:
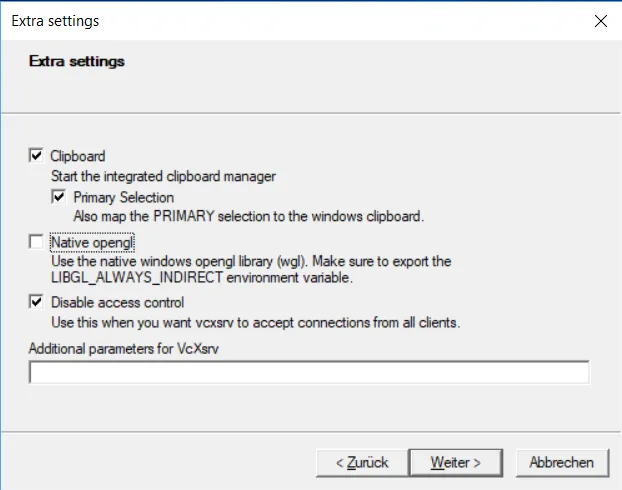
Pull the ROS 2 Humble image
In PowerShell (or any terminal) pull the official ROS 2 Humble desktop image from OSRF:
docker pull osrf/ros:humble-desktop-fullThe desktop-full variant is about 3 GB and ships with RViz2, the demo nodes, and Gazebo. If you only need the core libraries, use osrf/ros:humble-ros-base instead (~600 MB).
Run the Docker container
Create a folder to persist your ROS 2 workspace on the host, e.g. C:\Users\<you>\Documents\ros2_ws. Then start the container:
docker run -it --rm ^
  --name ros2 ^
  -e DISPLAY=host.docker.internal:0.0 ^
  -v %USERPROFILE%\Documents\ros2_ws:/root/ros2_ws ^
  osrf/ros:humble-desktop-full bash
You should see a terminal window with the following content:
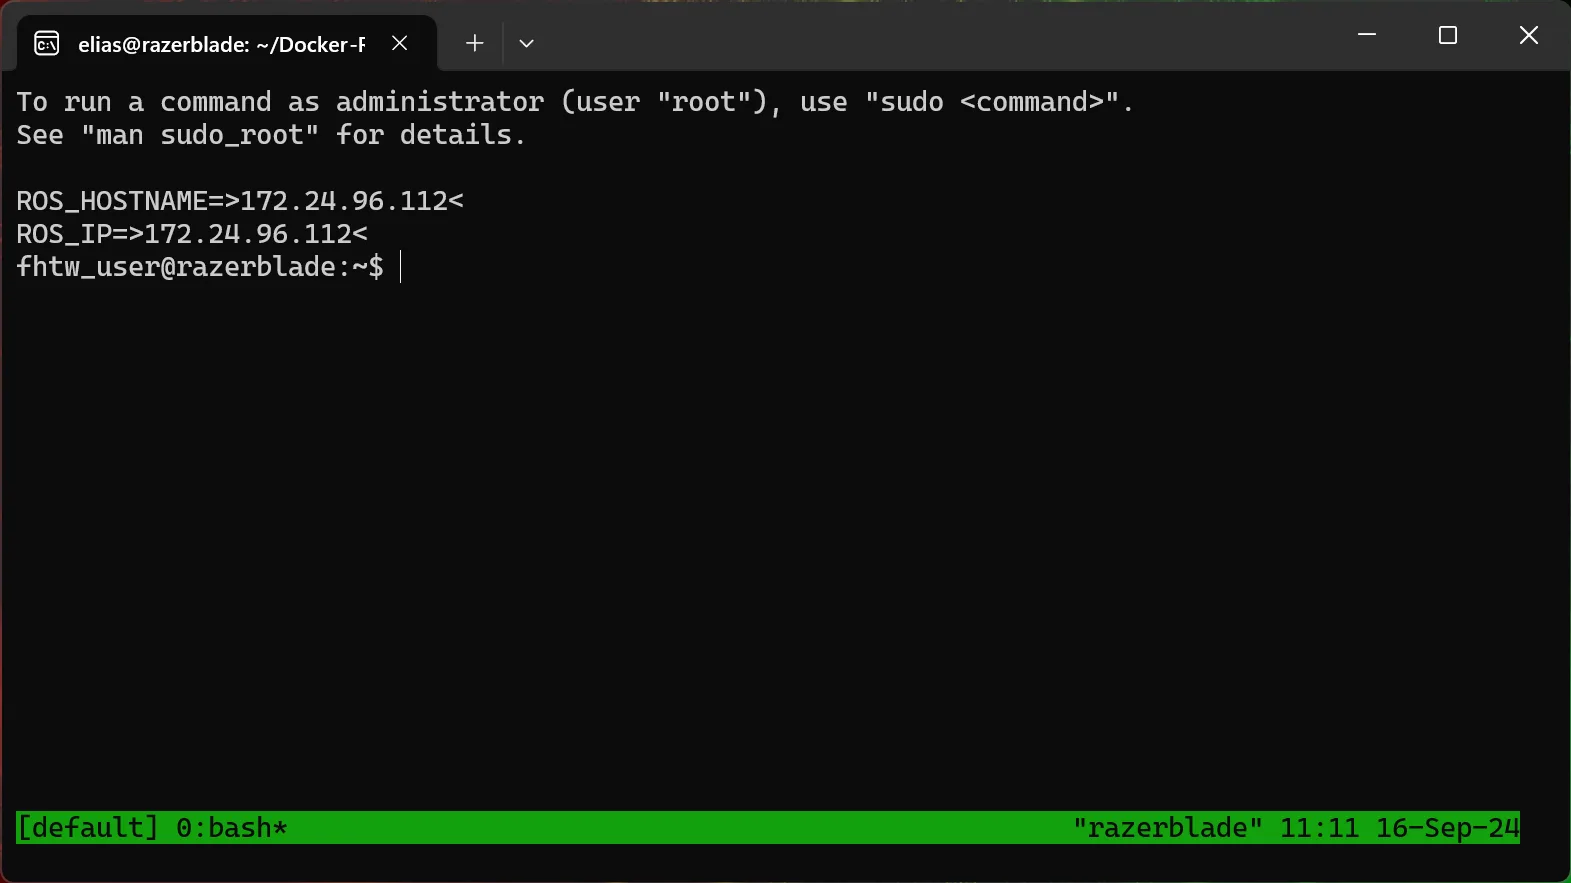
Congratulations! You have successfully set up the ROS 2 Docker container on Windows.
Linux
Install Docker
Install docker and make sure it is running (here are the instructions: Ubuntu Windows )
Add your user to the docker group so you don't need sudo for every command:
sudo usermod -aG docker $USER
newgrp docker
Install Git
Open a Terminal and install Git:
sudo apt-get updatesudo apt-get install gitPull the ROS 2 Humble image
docker pull osrf/ros:humble-desktop-fullAllow the container to reach your X server
On the host, once per session:
xhost +local:dockerRun the Docker container
mkdir -p ~/ros2_ws/srcdocker run -it --rm \
--name ros2 \
--net=host \
-e DISPLAY=$DISPLAY \
-v /tmp/.X11-unix:/tmp/.X11-unix \
-v $HOME/ros2_ws:/root/ros2_ws \
osrf/ros:humble-desktop-full bashWhat each flag does:
| Flag | Purpose |
|---|---|
--net=host | DDS multicast discovery needs host networking. |
-e DISPLAY + X11 socket mount | Lets GUI tools like RViz2 render on your screen. |
-v ros2_ws | Persists your workspace on the host. |
Congratulations! You have successfully set up the ROS 2 Docker container on Linux.
Source the ROS 2 environment
Inside the container, you have to source ROS 2 every time you open a new shell. Add it to your .bashrc so it happens automatically:
echo 'source /opt/ros/humble/setup.bash' >> ~/.bashrc
source ~/.bashrcNote: ROS 2 has no
roscore. Discovery happens automatically over DDS as soon as a node starts — there is nothing to launch first.
Verify the install
In one terminal inside the container:
ros2 run demo_nodes_cpp talkerOpen a second shell into the same container from the host (docker exec -it ros2 bash) and run:
ros2 run demo_nodes_cpp listenerYou should see "Hello World: 1, 2, 3 …" messages flowing. ROS 2 is working.
Development inside the Docker Container
To make it easier to develop within the docker container, a folder ~/ros2_ws/src on the host is mounted into the container at /root/ros2_ws/src. This allows you to save your projects on your host computer and build/run them in the docker container with colcon.
Develop with Docker in VS Code
To streamline development inside Docker containers, Visual Studio Code offers two key extensions: Docker and Remote Development. These extensions allow you to attach to running containers and develop directly inside them.
Step 1: Install the Docker Extension
First, install the Docker extension for managing and interacting with Docker containers:
- Install and open Visual Studio Code.
- Go to the Extensions view by clicking on the Extensions icon in the Activity Bar (on the left-hand side), or press
Ctrl + Shift + X. - Search for Docker and install the extension provided by Microsoft.
- Restart VS Code if needed.
Step 2: Install the Remote Development Extension
To enable full development inside containers, install the Remote Development extension pack:
- In the Extensions view (
Ctrl + Shift + X), search for Remote Development. - Install the following extension pack, which includes:
- Remote - Containers
- Remote - SSH
- Remote - WSL
- ROS (ms-iot.vscode-ros)
- C++ Intellisense (austin.code-gnu-global)
- Restart VS Code to apply the changes.
Step 3: Attach VS Code to a Running Docker Container
Once both extensions are installed, follow these steps to attach VS Code to your running Docker container:
- Ensure your Docker container is running.
- Open the Docker panel from the Activity Bar on the left-hand side in VS Code.
- Under the Containers section, locate your running container.
- Right-click on the container and select Attach Visual Studio Code from the context menu.
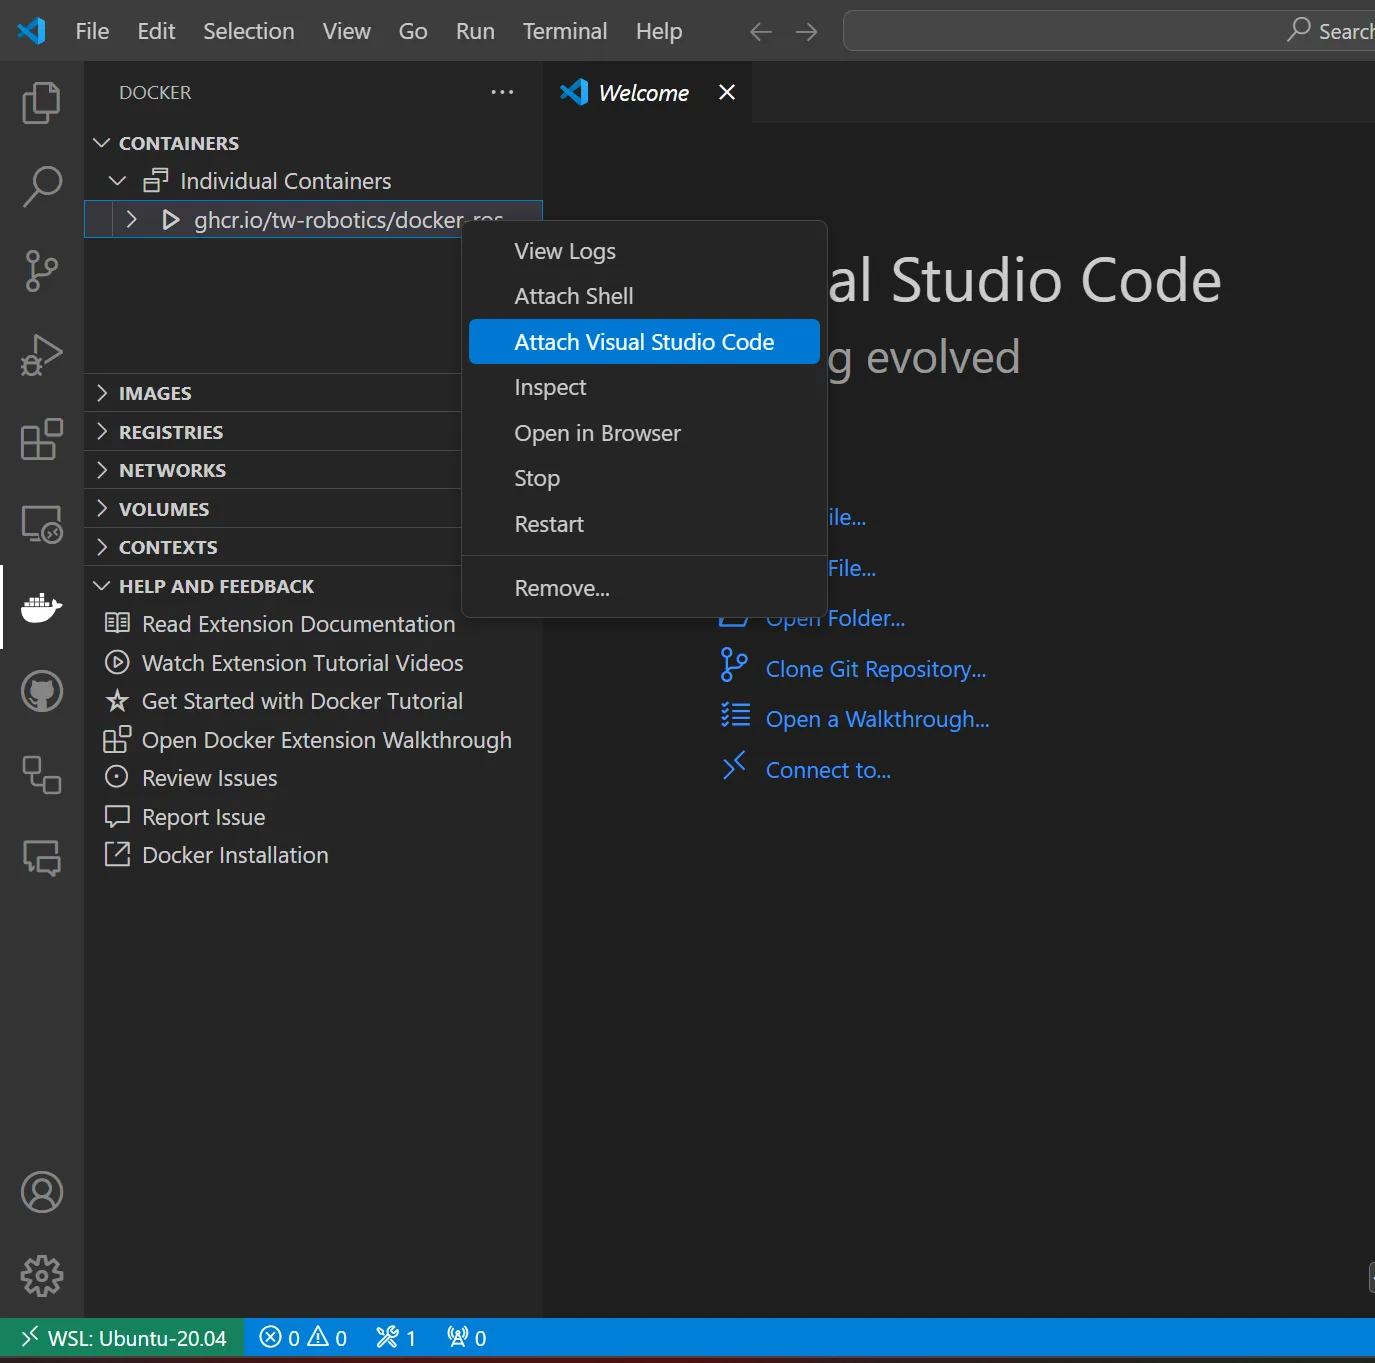
Step 4: Start Developing Inside the Container
VS Code will now open a new window connected to the running Docker container, allowing you to:
- Access, edit, and save files inside the container.
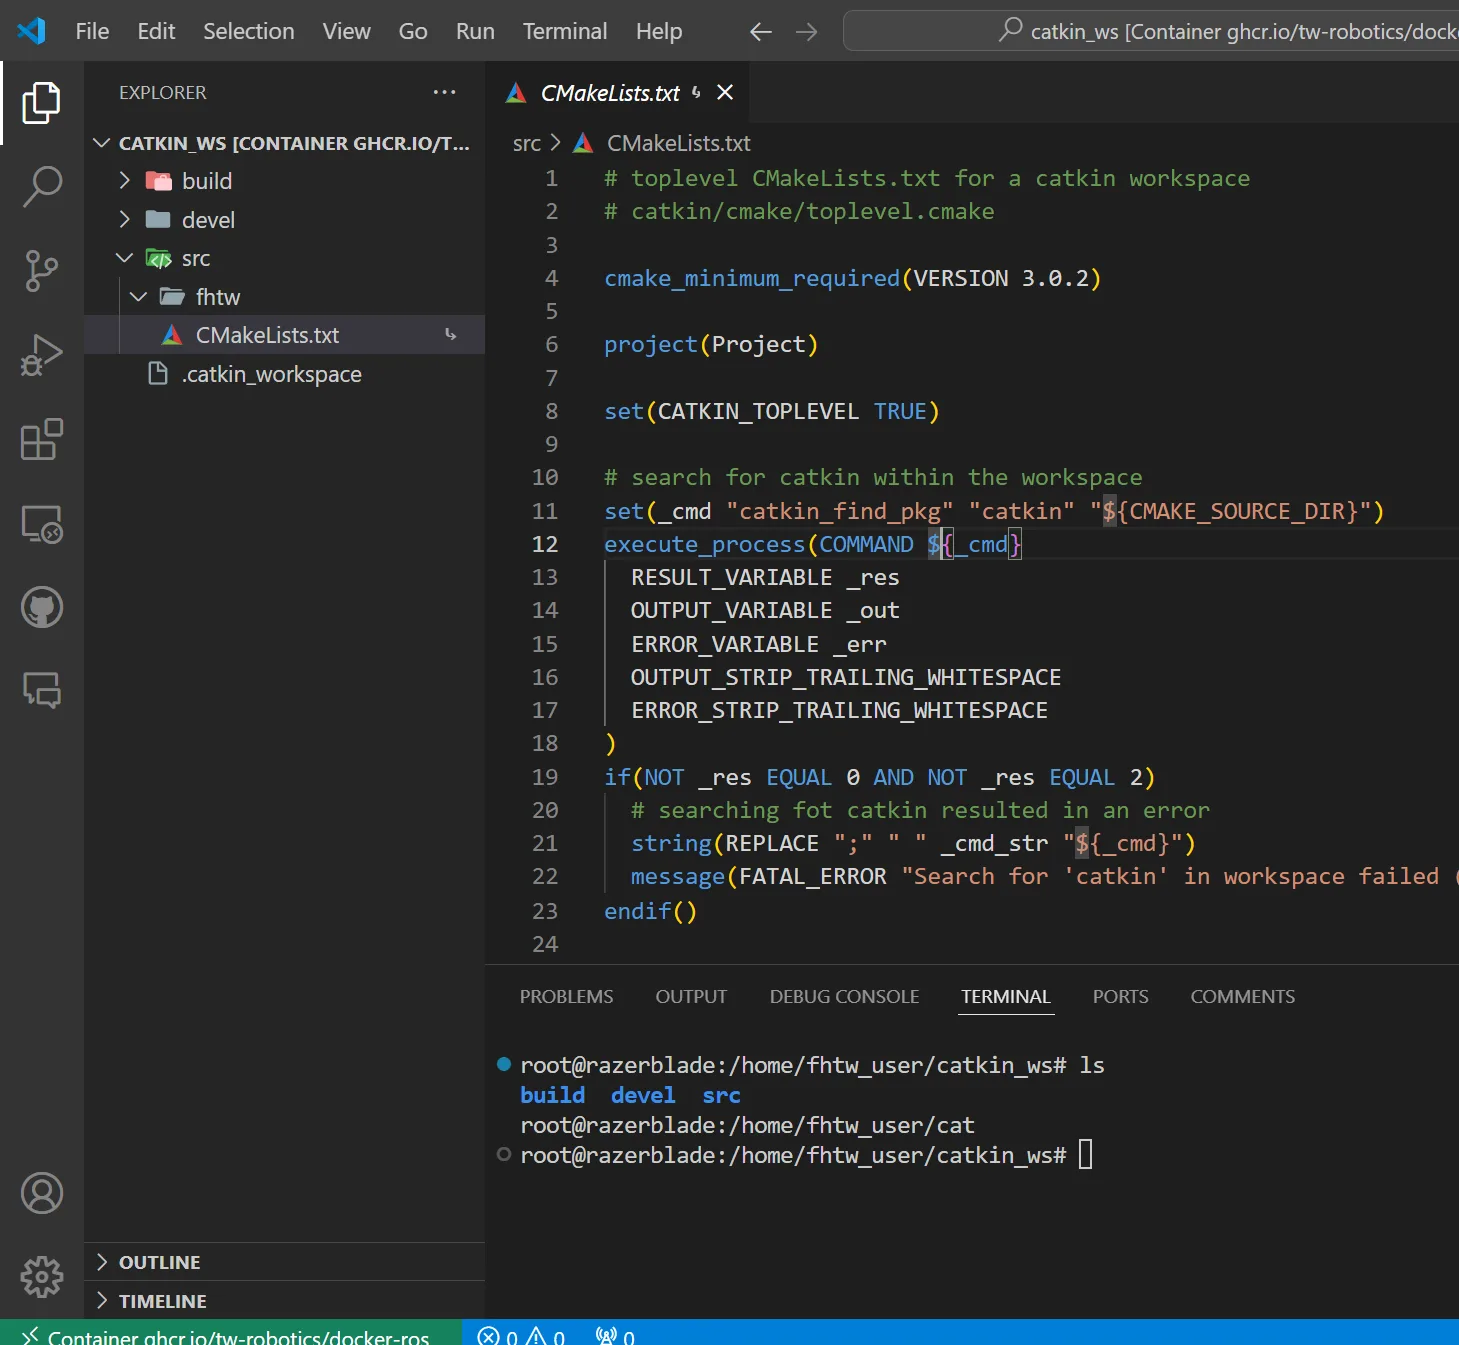
- Use the integrated terminal within the container environment.
Ctrl + Shift + o
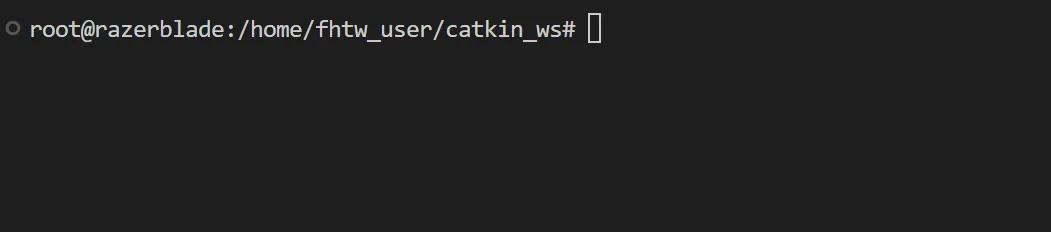
Source ROS 2 in the terminal if it's not already sourced:
source /opt/ros/humble/setup.bash- Now you can use the terminal as usual and run any
ros2 ...command.
To split the terminal window you can use Ctrl + Shift + 5.
- Utilize VS Code's debugging and other tools directly in the container.
This setup ensures a seamless development experience within a consistent containerized environment, especially when working with complex dependencies like ROS 2.
TMUX (Terminal Multiplexer)
Further to work with multiple terminals inside docker we recommend using tmux. Install it once inside the container:
apt-get update && apt-get install -y tmux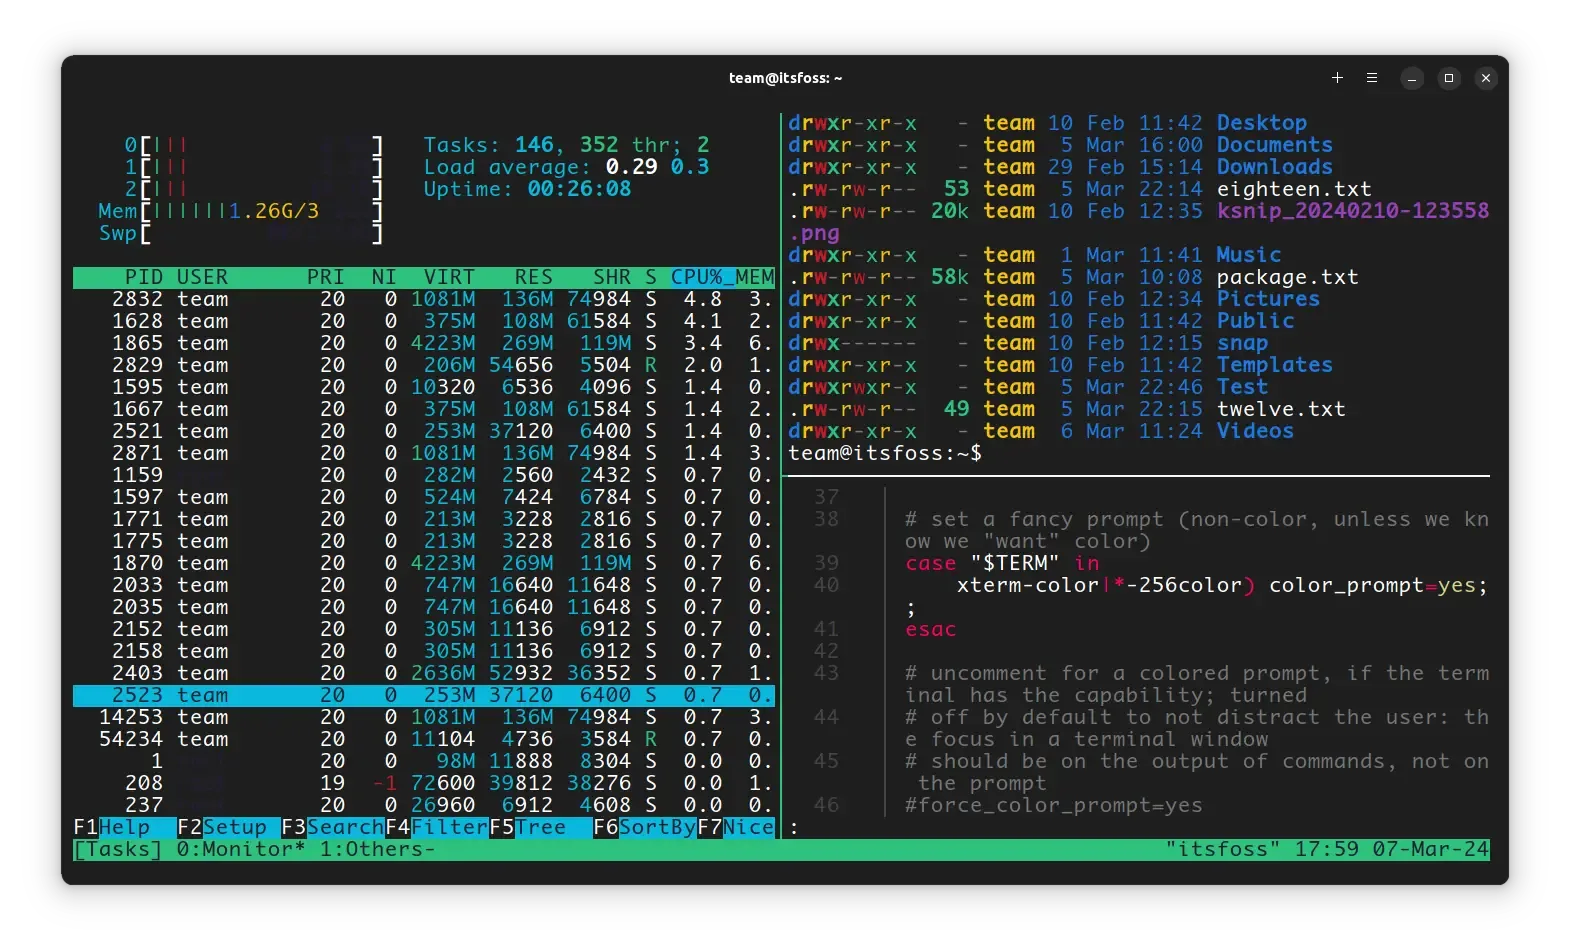
Create your first workspace
A workspace is just a folder where you put your own ROS 2 packages. ROS 2 workspaces use colcon as the build tool (it replaces catkin_make from ROS 1).
mkdir -p ~/ros2_ws/src
cd ~/ros2_ws
colcon build
source install/setup.bash
You'll use this workspace in every chapter from here on. Anytime you create or change a package, go back to ~/ros2_ws and run colcon build again.
Commit changes to the docker container
To store changes (such as newly installed software) you need to commit these changes from your command line (we recommend powershell for windows and the normal terminal for linux).
docker commit [CONTAINER_ID] ros2_humble_local:latest -m "Commit message"Ordinary Wizarding Level
7 questions · 5 pts first try · 2 pts on a later try · +15 bonus for a clean sweep
Question 1 of 7
Why does the Linux docker run command use --net=host?