Installation
Set up the ROS Docker container on Linux or Windows
The following introduction shows how to use the docker container on Linux and on Windows.
Warning: It is not possible to communicate with other hosts (e.g. Turtlebot) via wifi nor lan if you use docker on Windows.
Virtualization
- Enable virtualization in your PC's BIOS/UEFI settings if needed.
Windows
Install WSL2
Open PowerShell as Administrator and run the following command:
wsl --installRestart your computer after the installation is complete. When you first launch WSL2, you'll be prompted to create a username and password for your Linux distribution.
Install Docker
Install docker and make sure it is running (here are the instructions: Ubuntu Windows )
Install VcXsrv
Install VcXsrv as X11-Server: link
Make sure that you allow VcXsrv access to public and private networks.
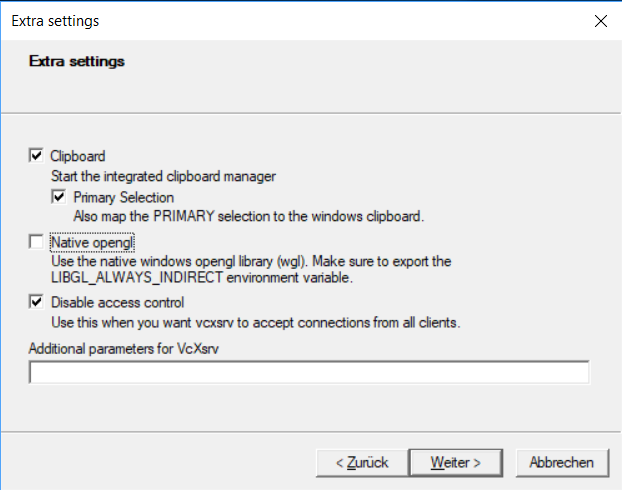
Start VcXsrv (XLaunch)
Start VcXsrv (XLaunch) with following configuration:
Download Docker-ROS
Download and extract the folder Docker-ROS for setting up ROS in Docker: FHTW Docker-ROS
Copy the downloaded files to a destination of your choice. e.g. ~/Documents/Docker/FHTW/
Run the Docker container
Double klick on run_docker_from_hub.bat
You should see a terminal window with the following content:
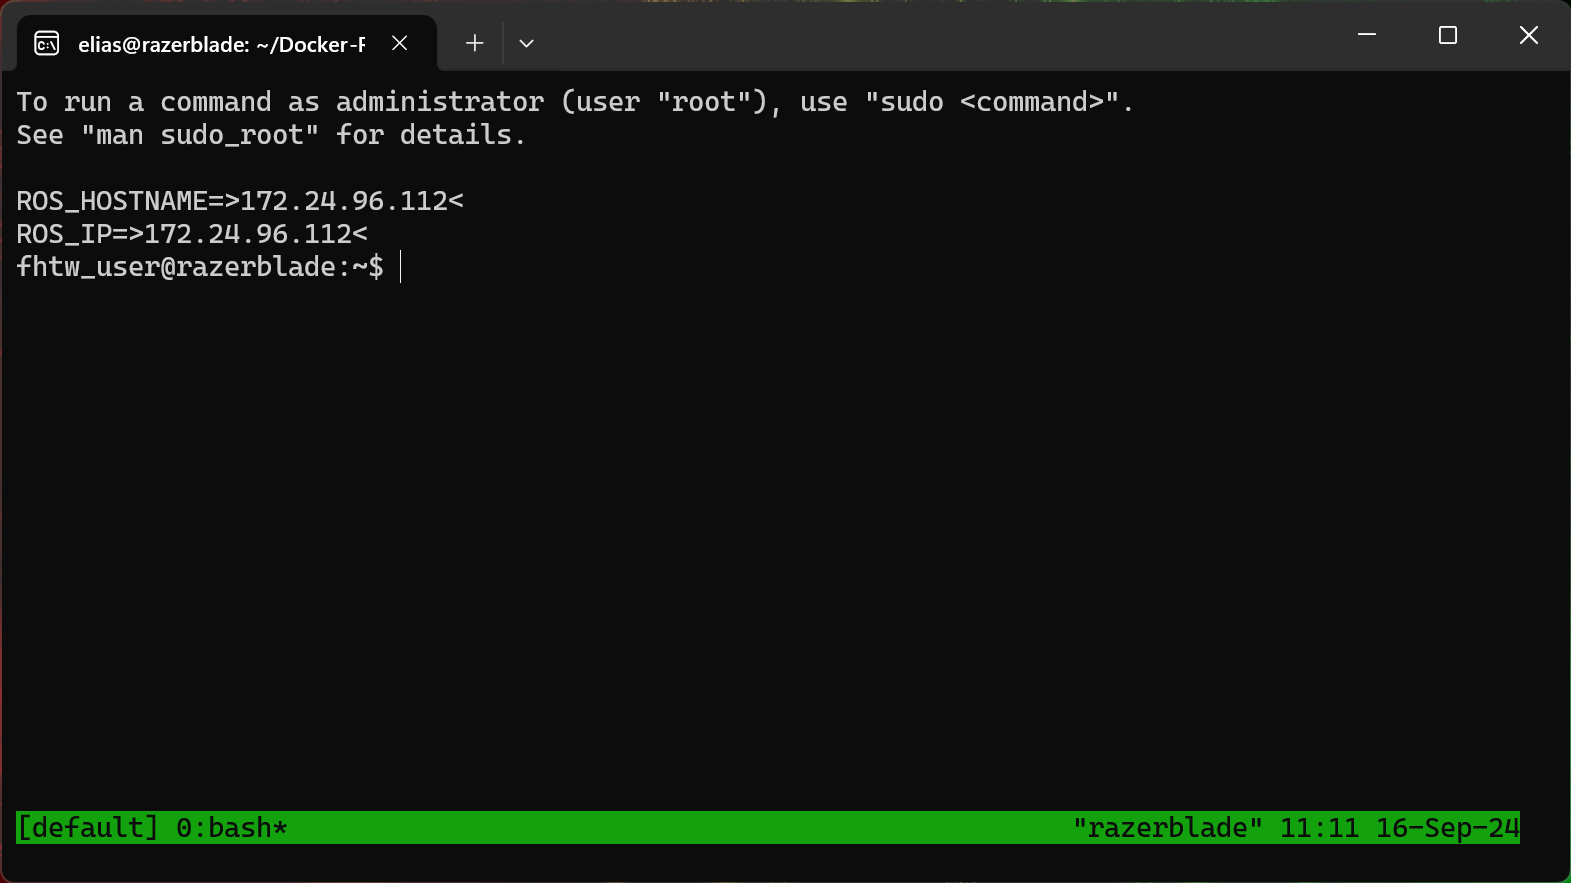
Congratulations! You have successfully set up the Docker container on Windows.
Linux
Install Docker
Install docker and make sure it is running (here are the instructions: Ubuntu Windows )
Install Git
Open a Terminal and install Git:
sudo apt-get updatesudo apt-get install gitClone the repository
git clone https://github.com/TW-Robotics/Docker-ROS.gitNavigate to the folder
cd Docker-ROSStart the script
bash run_docker_from_hub.shCongratulations! You have successfully set up the Docker container on Linux.
Development inside the Docker Container
To make it easier to develop within the docker container, a folder "./catkin_ws/src/" (which must be located directly in the folder from which you run the run_docker_from_hub/local) is created. This folder is mounted into the docker container to "/home/fhtw_user/catkin_ws/src/fhtw". This allows you to save your projects on your host computer and execute them in the docker container.
Develop with Docker in VS Code
To streamline development inside Docker containers, Visual Studio Code offers two key extensions: Docker and Remote Development. These extensions allow you to attach to running containers and develop directly inside them.
Step 1: Install the Docker Extension
First, install the Docker extension for managing and interacting with Docker containers:
- Install and open Visual Studio Code.
- Go to the Extensions view by clicking on the Extensions icon in the Activity Bar (on the left-hand side), or press
Ctrl + Shift + X. - Search for Docker and install the extension provided by Microsoft.
- Restart VS Code if needed.
Step 2: Install the Remote Development Extension
To enable full development inside containers, install the Remote Development extension pack:
- In the Extensions view (
Ctrl + Shift + X), search for Remote Development. - Install the following extension pack, which includes:
- Remote - Containers
- Remote - SSH
- Remote - WSL
- ROS (ms-iot.vscode-ros)
- C++ Intellisense (austin.code-gnu-global)
- Restart VS Code to apply the changes.
Step 3: Attach VS Code to a Running Docker Container
Once both extensions are installed, follow these steps to attach VS Code to your running Docker container:
- Ensure your Docker container is running.
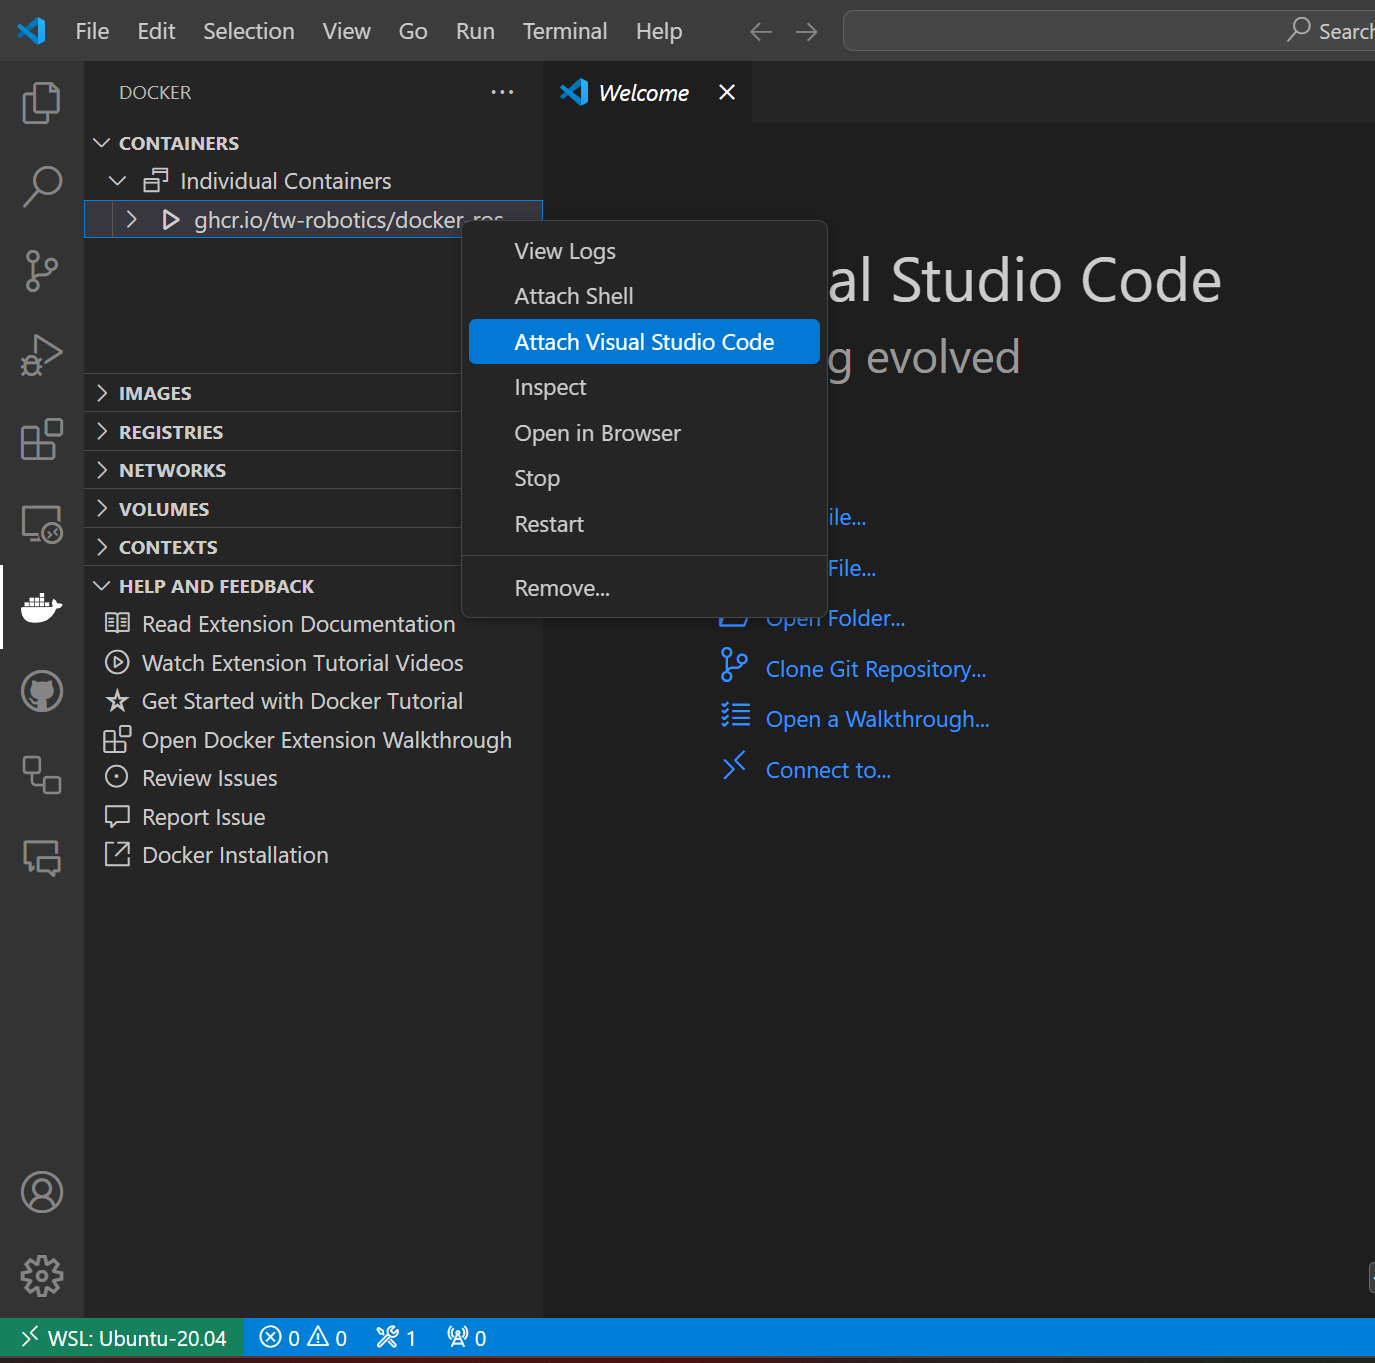
- Open the Docker panel from the Activity Bar on the left-hand side in VS Code.
- Under the Containers section, locate your running container.
- Right-click on the container and select Attach Visual Studio Code from the context menu.
Step 4: Start Developing Inside the Container
VS Code will now open a new window connected to the running Docker container, allowing you to:
- Access, edit, and save files inside the container.
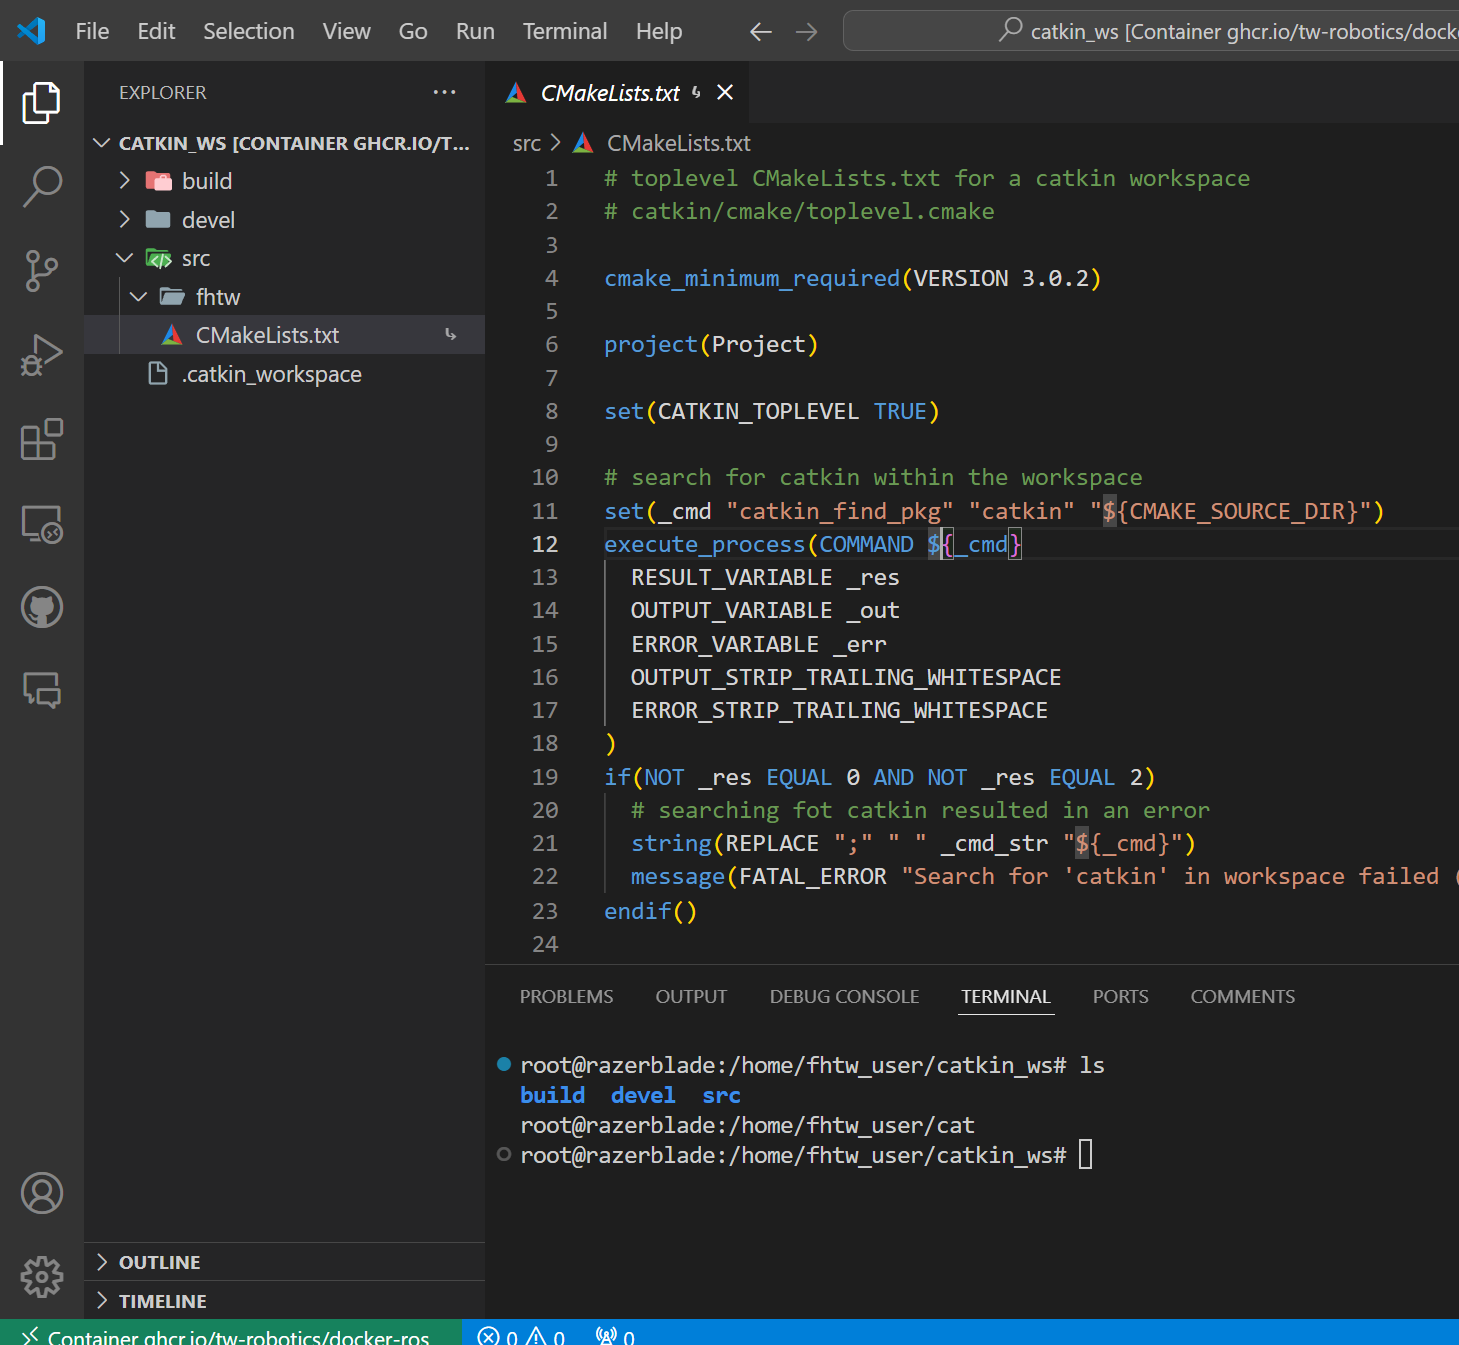
- Use the integrated terminal within the container environment.
Ctrl + Shift + o
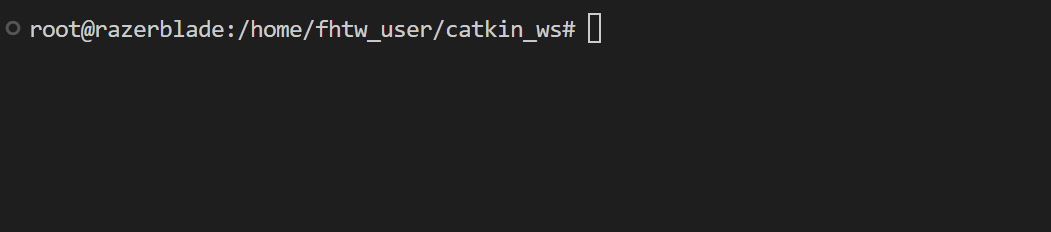
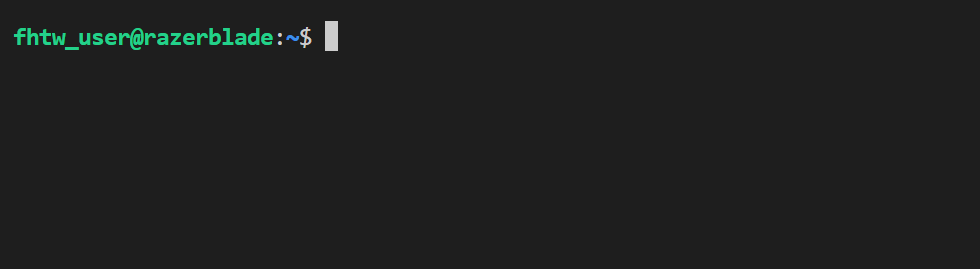
As you can see, you are maybe root user in the terminal. To change to the fhtw_user use the following command:
bash /ros_entrypoint.sh- Now you are the fhtw_user and can use the terminal as usual.
To split the terminal window you can use Ctrl + Shift + 5 again. But don't forget to change to the fhtw_user again with bash /ros_entrypoint.sh.
- Utilize VS Code's debugging and other tools directly in the container.
This setup ensures a seamless development experience within a consistent containerized environment, especially when working with complex dependencies like ROS.
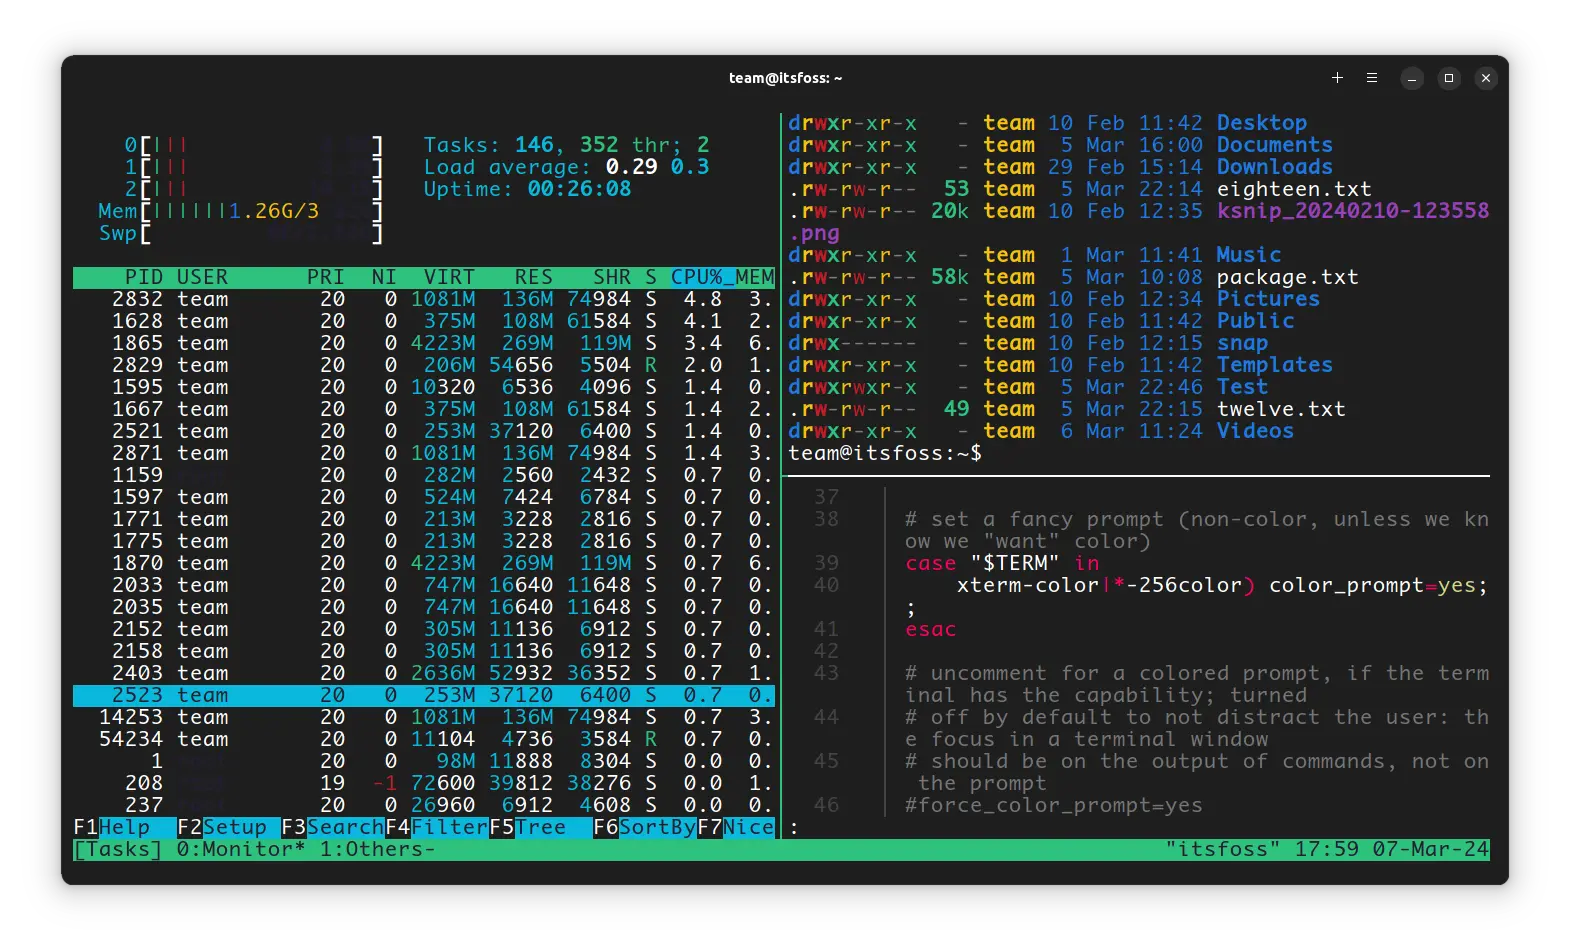
TMUX (Terminal Multiplexer)
Further to work with multiple terminals inside docker we recommend using tmux which is set as the default shell.
Commit changes to the docker container
To store changes (such as newly installed software) you need to commit these changes from your command line (we recommand powershell for windows and the normal terminal for linux).
docker commit [CONTAINER_ID] fhtw_ros_local:latest -m "Commit message"